The Ultimate Guide For Taking Great Landscape Photos

Taking photos on a trip or vacation is a great way to record memories to show your family and friends later on. For some of us, wanting to take the best possible photos that capture the moment as we see it is important to preserve and share it with others. But this can be difficult, as there are a lot of elements that go into taking a great photo.
In this article, we’ll take a look at what goes into making a great landscape photo that’s not only accurate, but beautiful! You don’t need to have an expensive camera either, you can take a great photo with even a cheaper DLSR, so long as you keep these principles in mind.

Shoot In Manual
To have the most control over your photos, you should shoot in manual mode, as this will allow you to make adjustments and dial in you settings. Learning how to use the shutter speed, aperture and ISO to your advantage will give you a better understanding on how to create the perfect picture.
You don’t need to start out shooting manual right away. There are steps you can take to work your way up to this setting. Starting out by shooting all automatic can help you understand how the camera creates well-balanced pictures. Learning how all the settings work to achieve this will prepare you for the next stage.
After this, you can start shooting in the aperture priority setting (Av or A) and shutter priority (Tv or S). These settings give you manual control over one setting while the camera handles the other. It’s a great way to understand how one affects the other before jumping fully into manual mode.
Once in full manual, the ability to control how your photos will look can get your image closer to how you saw it in the moment. You also now have the option to play with the settings to create different effects such as long exposures or silhouettes. If you understand these basic settings, the possibilities are endless!

Depth Of Field
Have you ever wondered how certain landscape photos have everything in focus from the foreground all the way to the distance background? Or how other have sharp focus on an object in front with beautiful soft focus in the back? Learning how to use the cameras f-stop can give you a wide range of possibilities when it comes to creating depth in your pictures.
When it comes to the f-stop, it can be a bit tricky to learn because of it seemingly being backwards. Just remember, the smaller the cameras aperture is, the more will be in focus. An aperture stopped down to f/22 will have a greater depth of field than an f-stop of 2.8.

A wide depth of field can get both the foreground and background in focus.

Example of a photo with a shallow depth of field.
So if you’re trying to take a landscape photo where everything is in focus, a larger f-stop is what you’ll need. When you’ll looking to take a picture with a shallower depth of field, you need to go with a smaller f-stop.
Proper Exposure
When it comes to how much light is allowed into your camera, exposure and depth of field relate to one another. Because depth of field controls how wide the aperture is open, it also affects how much light can enter the camera. This is important to understand how you can get the perfect exposure in your final picture.
For a landscape photo with a big depth of field, your aperture will be closed down quite a bit. This means you will need to have your shutter open longer to let the appropriate amount of light in. The shutter speed function on your camera controls this, allowing you to control how much time your shutter is open.
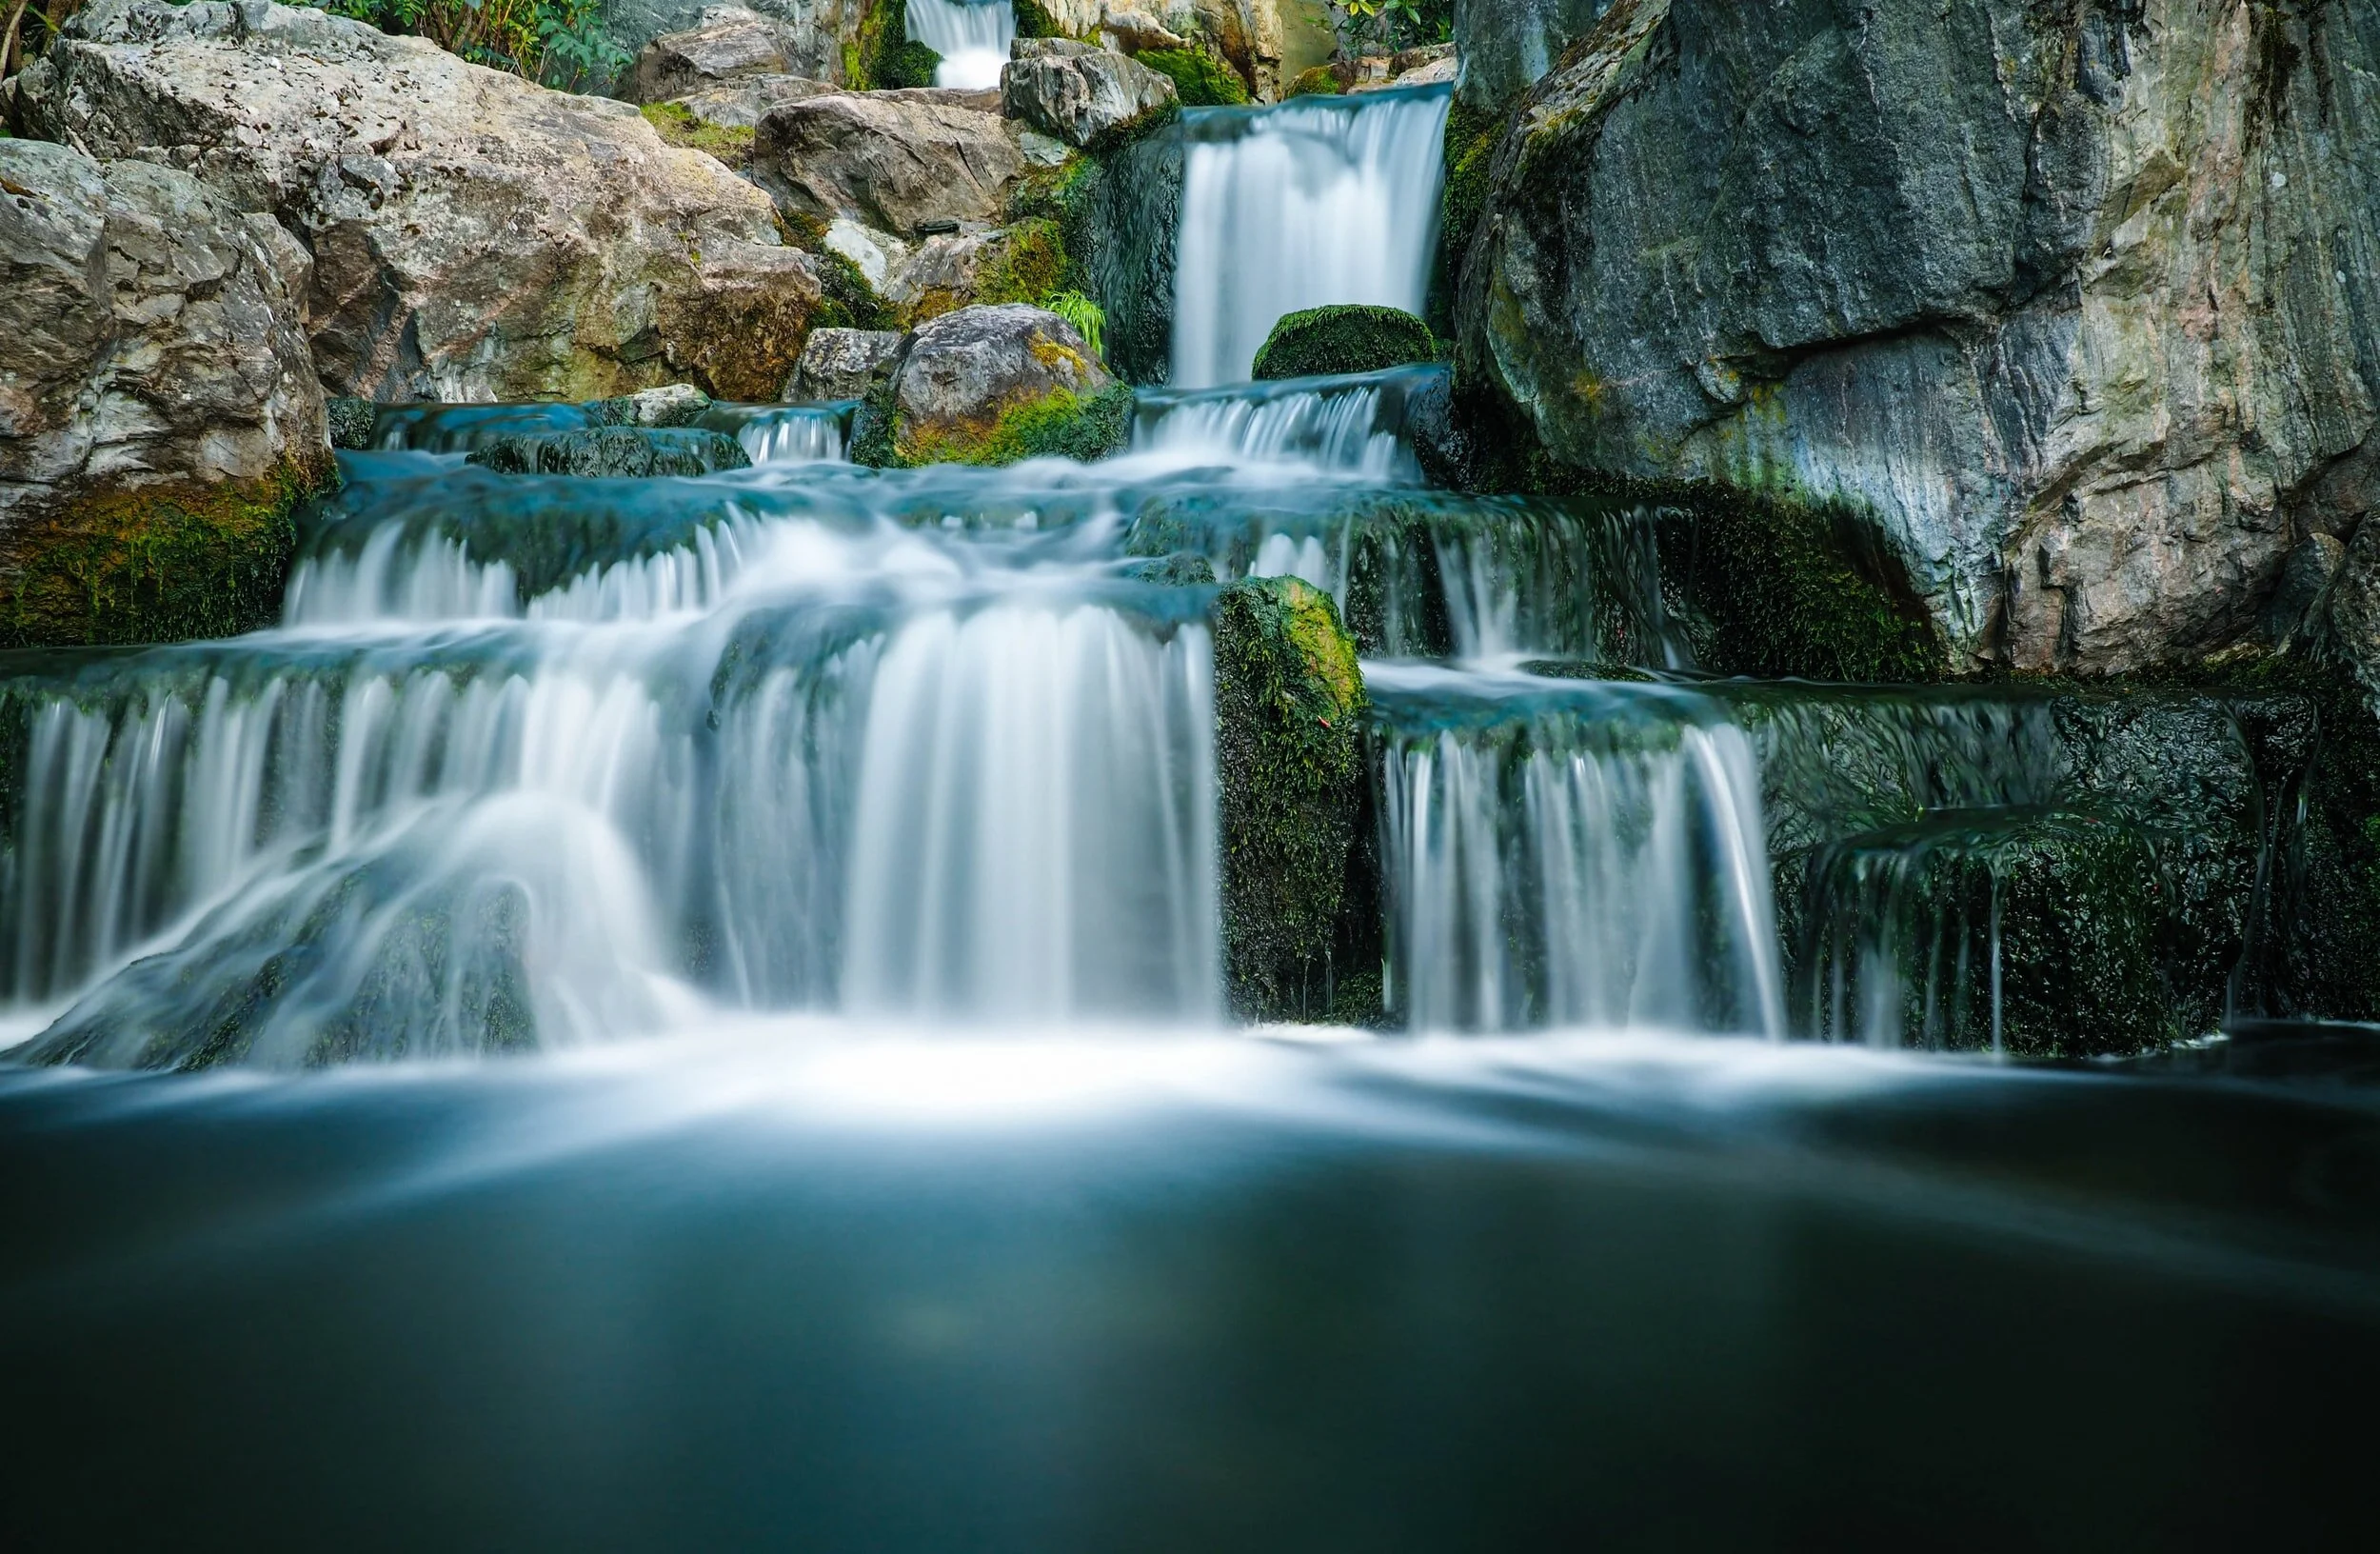
You can sometimes use a slow shutter speed to create effects such as this so long as you us a tripod.
It’s important to remember though, that the longer your shutter is open, the more time will be required to take the picture. This means your camera must be completely still the entire exposure to avoid the final photo being blurry. The rule of thumb for taking photos handheld is 1/60 or higher. Any exposure time below that required a stabilizer like a tripod.
On the other side of the equation, when you’re taking photos with a shallow depth of field, you’ll want to have a quicker shutter speed to avoid over exposure. For extremely low f-stops, your shutter speed could be 1/1000 or higher. Speeds like this allow you freeze any motion as well that may be in your image.
Stick To A Low ISO
Your cameras ISO can be a great tool to help you capture images in a darker environment without needing to change your shutter speed. Sounds great right? Unfortunately there’s a catch.
Raising the ISO will also increase the amount of noise in your image, sometimes making it unusable. That’s why you should try to keep your ISO as low as possible. Raising your ISO should only be done if you can’t brighten your image enough with shutter speed and aperture adjustments.
A good range to stay in for ISO is 100-400. This will ensure the image has a low amount noise that doesn’t distract from the subject. There are certain cameras that are better at high ISO ranges, but these can cost quite a bit and aren’t really necessary.
Or if you’ve got $20K lying around, you can pick up a Canon ME20F-SH with an ISO ability of over 4,000,000!
Rule Of Thirds
When it comes to creating a compelling composition, keeping in mind the rule of thirds is important when framing your shot. Knowing where to place objects in the scene will add depth and dimension to your image and allow the viewers eye to move around the landscape.
There’s a simple way to learn this rule and that’s by dividing your frame into horizontal and vertical lines in a grid (most camera have this feature). Rather than placing the subject of your shot in the center, you can try aligning it on the left or right lines.

The building placed on the right follows the principles of the rule of thirds.
This will add visual depth to your picture and create a more dynamic and interesting photo. The horizon line is also important to keep in mind. It should run along one of the horizontal grid lines so it takes up two-thirds of the image.
In some instances however, breaking the rule of thirds can also produce a unique image. A great example of this would be centering a subject that recedes into the background, like a road or train tracks.
Use Leading Lines
Understanding how to lead your viewers eye through the image can help you create compelling and captivating photos. When you use leading lines, it can bring the viewer into your picture and draw their attention to a specific point of interest.
This effect can be obvious or it can be subtle. A road receding straight into a distance mountain range is a prominent leading line, but a line of clouds snaking back towards a tree can be a subtle way of doing this. The subject of your photo becomes much more pronounced when you guide the viewer towards it.


Have Balance
Making sure your composition is balanced is important when creating a pleasing and beautiful image. Visual balance means that the elements in your frame are equally distributed to create a feeling of satisfaction for the viewer.

The pond on the right balances out the mountain on the left.
Everyone has looked at a photo that creates a bit of unease and seems like somethings missing. If the picture feels like it’s too heavy on the left or right, parts of the frame will feel empty and cause the viewer to focus on only one side instead of the image as a whole.
This is something that should also be done in camera as opposed to during post-processing. You’ll maintain maximum resolution while understanding how to create balance in-field.
Add People For Scale
Including a person in your landscape composition can create drama by showing scale in the image. It’s a relatable and well-known subject we can all immediately understand as being small in relation to the rest of the scene.
You can do this by asking your friend or spouse to be your subject, or you can set up your camera on a tripod with a self-timer. Either way, you’ll be able to create a more compelling image by adding this dynamic element.

In this image, the boats with people show the scale of the surrounding mountains.
Of course you don’t need to do this in all your landscape pictures, but when it’s appropriate, using a subject for scale can take your photos up a notch.
Get A Different Point Of View
When we take pictures, we often take them at eye level. Changing this up however, can create a more interesting composition that captivates the viewer by showing them the world in a different way.
A great exercise to try out is to take a series of pictures from anywhere but eye level. Try putting the camera on the ground or up in the air to create an uncommon frame that will draw in the viewers attention. This will help you see where you can use this in you landscape pictures when the moment arises.
Break The Rules
Now that you’ve learned the rules of photography, you should know when to break them. Sometimes, the rule of thirds or proper exposure doesn’t need to be followed and breaking them can result in a much more unique and dynamic image.

Placing this tree in the center of the image does “break” the rule of thirds, but its prominence in the composition makes the photo more interesting.
Think of photography rules more as guidelines. They give you the ability understand what makes a great image, but breaking them can allow you to explore your own style.
Conclusion
Once you understand these principles, you’ll be taking travel photos you’re proud to show off to family and friends! These simple rules aren’t too difficult to learn and will lead to more fun and interesting photoshoots on your next adventure.