How To Take More Dynamic Landscape Photos

For artists out there looking to capture the outdoors through the lens of their camera, it can often be difficult to snap the perfect landscape picture. Even when you know the basics of photography, taking dramatic photos can still be tough to accomplish.
From drastic changes in lighting to rapid shifts in weather, photographing a beautiful landscape can seem all but impossible–for the unprepared. But for those who put the time and practice into learning and improving their photography skills can capture stunning pictures that impress and amaze.
Read on to learn how to take your landscape photography from basic to pro with a few critical adjustments. There’s also a list of 5 amazing locations to take incredible landscape photos after you’ve mastered these skills.

1. Use A Low ISO
ISO is something every basic photographer should know about. In short, it’s how sensitive your camera is to light, with higher ISO’s being more sensitive and lower ISO’s being less sensitive.
While a higher ISO can capture more light, the final image is often grainy. This grain, especially with digital cameras, can be very undesirable in landscape pictures.
That’s why it’s best to stick with a low ISO, somewhere between 100 – 400. As long as you can still shoot at a reasonable shutter speed, a low ISO will result in a clean and noise-free landscape image.

2. Use A Tripod
This tip ties into using a low ISO. While a tripod isn’t necessary for all of your landscape pictures, if a low ISO means a slower shutter speed, having something stable to set your camera on will reduce the chances of a blurry image.
A good rule of thumb is if your shutter speed is slower than 1/60, you should use a tripod. When the lens stays open for any time lower than that, your hand may move while capturing the picture and blur the image.
Using a nice, sturdy tripod will prevent any movement and result in clear, sharp imagery. If you’re photographing in conditions like high winds, most tripods have a hook on the bottom that you can clip a sandbag or backpack to for extra stability.

3. Use A Mid-Range Aperture
To capture the clearest possible image, understanding your camera’s aperture is very important. The basic photographer should know that an aperture controls how much light reaches your camera’s sensor and determines the depth of field.
As a brief recap, for shallow depth of field, the aperture should be wide open where as a smaller aperture gets more in focus. So an aperture of f/2.8 is great for creating a blurry background while an aperture of f/22 will get the entire image in focus.
When taking landscape photos, selecting a mid-range aperture like f/8 or f/11 will result in the clearest possible picture. Smaller apertures have the chance to make photos slightly blurry despite their wide depth of field.
Shooting with an f-stop number that is two to three stops higher than your cameras lowest aperture setting works the best. But this isn’t a hard-and-fast rule – you can play around with these settings and create different effects for even more dynamic pictures.

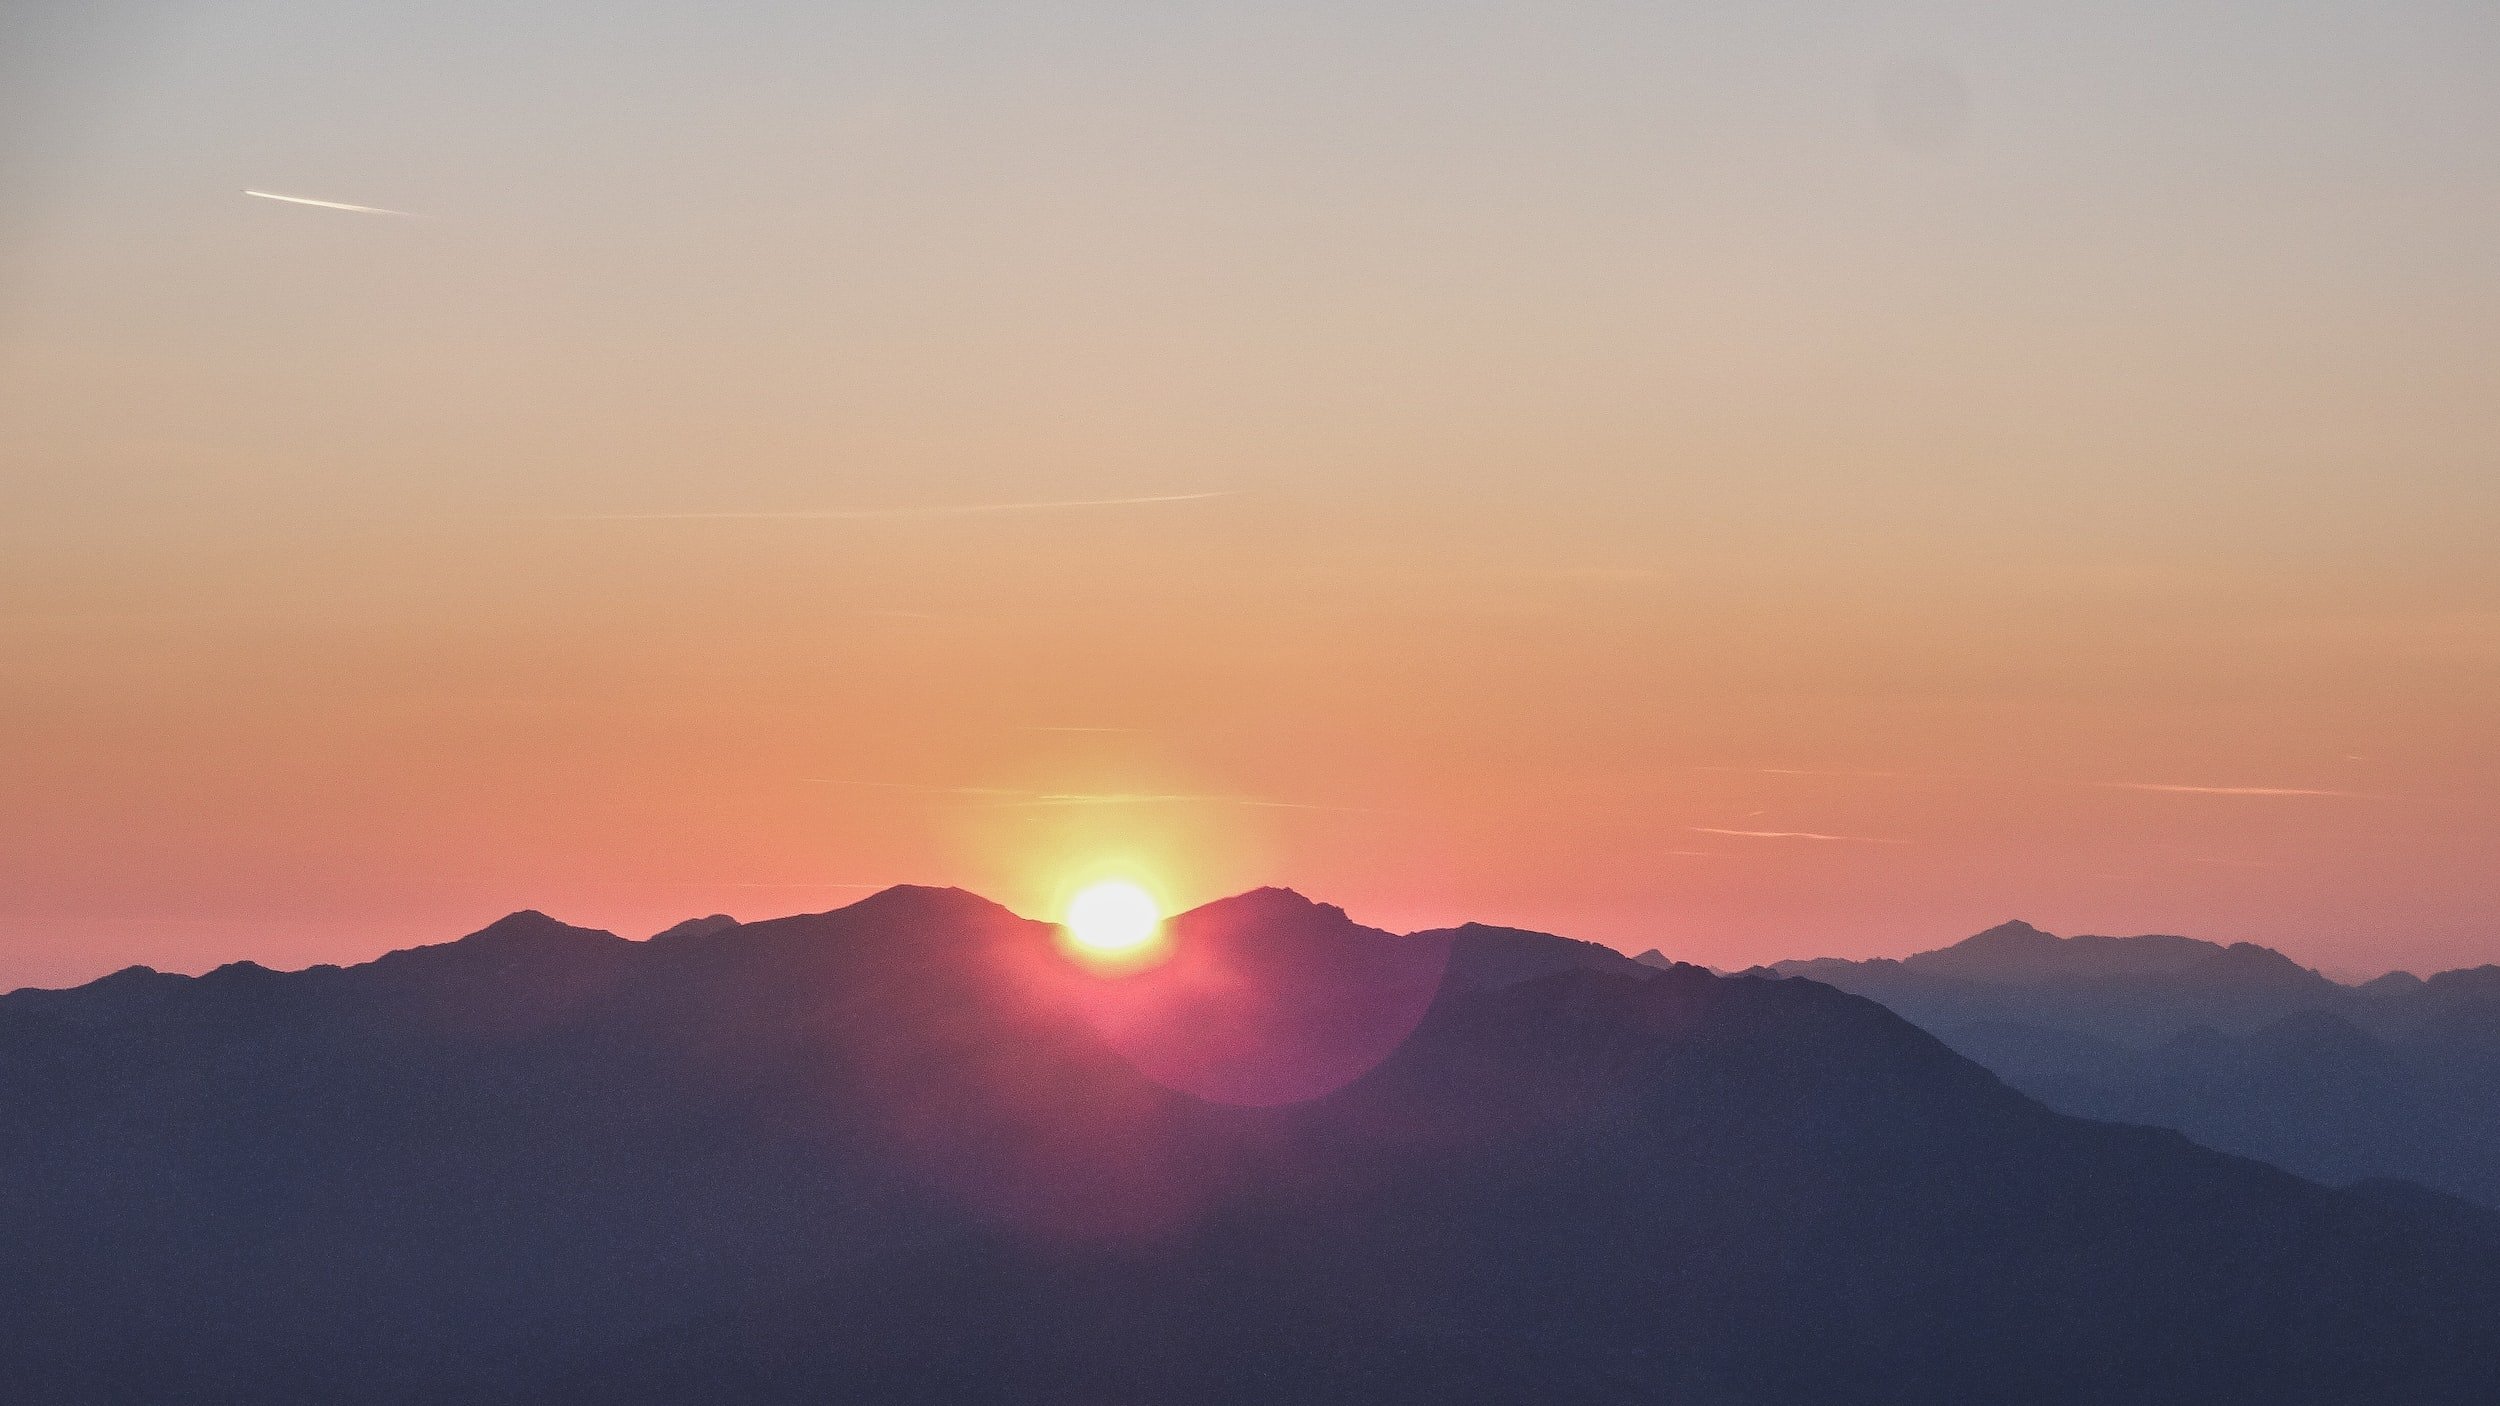
4. Photograph During Golden Hour
To capture a landscape with truly compelling light, trying picturing during either the first hour after sunrise or the last hour before sunset. Known as the golden hour (or magic hour), it’s one of the best times of day to create very dramatic images because of the suns position in the sky.
With the sun low on the horizon, the light is diffused and produces a warm glow to the landscape. The shadows are also elongated and will help add depth to every picture.
This is also a great time to capture incredible sunrises or sunsets if you show up a little earlier or stay a little later than the golden hour. The intense orange, red, or pink of the sky during this time is sure to create an extremely dynamic picture.

5. Use A Polarizing Filter
To reduce glare and enhance contrast in your landscape pictures, a polarizing filter is a very useful tool to accomplish this. They can be screwed on to the lens of your camera with some allowing you to adjust the intensity of the filters effect.
They’re great for bringing out the rich blue of the sky or to reduce the glare of the sun on the surface of water. You can also boost the colors in a scene to add more contrast and interest to each picture.
A polarizing filter can also act as a layer of protection for the glass in your lens. While no one wants to damage either, smashing the glass of a $20 polarizing filter is better than smashing the glass of a $5,000 lens.

6. Use The Histogram
Learning to read and utilize your camera histogram is important for understanding how to take better pictures. It’s your visual key for making adjustments and knowing the right settings needed to get a well-balanced photograph.
A histogram is a simple graph that showing the different tonal distribution in an image. On the left side of the graph, you have the dark tones and on the right side is your light tones.
If your graph is shifted to only one side, your image will either be to overexposed or to underexposed. While a perfectly balanced picture isn’t always necessary, just remember that anything in the image that is completely black or completely white has lost all of its detail and can’t be recovered even when you edit.

7. Shoot In RAW
If your camera can shoot in RAW, shoot in RAW. The RAW format contains much more detail than even a large JPEG allowing for more flexibility during editing without losing quality.
The only downside to shooting RAW is that the bigger files require more storage on your devices. Make sure you have an SD card capable of handling these large files – a minimum of at least 8GB though 16, 32, or higher is the better option.
You can always save RAW files as JPEG’s but you can’t save JPEG’s as RAW files. The more data you have in your initial image, the more dynamic you can be in the edit room.
8. Know When To Break The Rules
This tip also ended our list in our basic landscape photography blog post, because even experienced photographers can get forget to do this. Don’t get so caught up in following the rules that you miss snapping an amazing image!
Sometimes the best photos are the ones that broke all the rules. Photography is a form of art and as the artist, you have control over the way your final image is presented.
Once you know the rules, you can experiment and have fun figuring out different and unique ways to take pictures. Try shooting from different angles or play around with your exposure and shutter speed settings.
While not every experiment you try will work out, the ones that do may end up being some of your best images. Especially when shooting digital photography, you have ample opportunities to try photographing a landscape in different ways.

Top 5 Most Photogenic Places To Take Landscape Pictures
Now that you’ve learned how to make your landscape photos more dynamic, these 5 awesome places should be on your travel list!

1. Rocky Mountain National Park, Colorado
This is a paradise for any mountain-loving photographer out there. It’s a place where even a bad picture can look amazing.
With towering, snowcapped peaks and puffy, billowing clouds, the Rocky Mountains are a dream subject for any photographer. Covering 415 square miles, there’s something for every visitor to enjoy and explore.
There’s also over 300 miles of trails you can hike and view the park from every amazing angle. Wildlife viewing is abundant throughout the park with elk, moose, big horned sheep wandering the area.
For the truly dedicated photographer, try visiting the park during winter. In addition to minimal crowds, the snow covered landscape will make for some dynamic and unique pictures.

Located near Page, Arizona, this sandstone slot canyon is one of the wests most beautiful canyons to photograph. It’s a narrow underground pathway that’s been carved by millions of years of water erosion.
Antelope Canyon is not a National Park, rather, it’s controlled by the Navajo Nation as the canyon is located on their tribal lands. Due to the high risk of flash flooding, the canyon is only accessible by guided tours.
One of Antelope’s most prominent feature is the beams of sunlight that shine through the upper canyon between the months of March through October. It’s also known for its distinctive, jagged canyon walls that have been carved out by rainwater and floods.
Photographing the canyon’s can be difficult however, due to the dramatic differences in lighting that reflect off the walls. For the best pictures, picturing in HDR is the best technique to expose both the shadows and highlights.

3. Great Smoky Mountains National Park, Tennessee & North Carolina
Encompassing over 800 square miles, the Great Smoky Mountains contain some of the highest peaks in eastern North America within an area of incredible biodiversity. Recognized internationally for its mountains, waterfalls, and forests, there’s no doubt that this is a great spot for any serious landscape photographer.
While it’s a great place to visit in all seasons, autumn produces some truly exceptional opportunities for foliage photography. Fall colors are a stunning time to take pictures in the park and reach their peak between mid-October and early November.
Another great spot to check out is Clingmans Dome which at over 6,000 feet, is the highest point in the park. The peak can be reached by car and a short walk up a paved ramp with beautiful views of the surrounding landscape.
The Great Smoky Mountains are also a part of the Appalachian Trail which runs along the mountains ridgeline. Deer and black bear are also present in the park and great subjects for any careful wildlife photographer.

4. Acadia National Park, Maine
It’s the “crown jewel of the North Atlantic Coast.” Along the rocky shorelines of Maine, Acadia National Park protects the natural beauty of the rocky headlands and the highest mountains along the Atlantic coast.
It’s a great spot for those who love the ocean and coastal photography. In addition to spectacular ocean views, there are also island lakes and pine forests throughout the park to explore.
One of Acadia’s most photogenic spots is the Bass Harbor Head Light, a lighthouse constructed in 1858 on the southwest portion of Mount Desert Island. While the house is currently a private residence, visitors can still snap some amazing pictures from the coastline or the granite boulder beach.
There’s also Cadillac Mountain which is the tallest mountain on the United States Atlantic Coast. From October 7th until March 6th, the mountain experiences the first sunrise in the continental U.S. which is a great spot for some amazing pictures.

5. Denali National Park, Alaska
As one of the toughest locations to visit on this list, Denali National Park is located in the rugged Alaskan wilderness. Covering more than 6 million acres of land, much of it is extremely difficult to get to and reserved for experienced explorers.
The park is served by a single 91-mile unpaved road. Private vehicles are only allowed for the first 15 miles, any further travel must be done on through the parks tour/shuttle bus.
For those who are willing to risk the difficult conditions, Denali is truly one of the last untouched vast wilderness areas in North America to explore. They’ll be no shortage of spots for incredible pictures of forests, mountains, glaciers, lakes, and rivers.
Wildlife is also abundant with grizzly bears, wolves, and a wide variety of birds inhabiting the area. Denali is a haven for the experienced photographer and has no shortage of incredible areas to picture.

Conclusion
As you elevate your skills as a landscape photographer, be sure to keep these tips in mind. You should always be trying to learn new things and experiment capturing photos in a different way to grow as a photographer and an artist.